Friday, October 31, 2008

Happy Halloween!

TR and I carved our first pumpkins as husband and wife last night (I know, gag me!) and they turned out so great! I took ideas from Martha Stewart and Southern Living and below you can see side-by-side inspiration vs. actual creation to see how well I did...

#1: Our Monogram (this is my favorite pumpkin!)
Inspiration: Martha Stewart's "Translucent Pumpkins"


Actual Creation:


(It's hard to take pictures of lit-up pumpkins!!!)

#2: Fall Leaves

Inspiration: Southern Living


Actual Creation:

If You're Going to DIY...

... you must purchase these things!

The wonderful Mrs. Penguin over on Weddingbee (I am slowly overcoming my addiction to their blog posts, but will probably never unsubscribe on my GoogleReader) just posted her Top 5 DIY Essentials, and I think you should read it! As a recap, here are the things a DIY bride shouldn't do without:
  1. Paper cutter (for invitations, programs, anything paper)
  2. Xyron machine (turns any paper item into a sticker)
  3. Gocco (for the very crafty brides; like a silk-screen machine for paper and fabric... currently, this machine is super-hard to get a hold of and I just heard that the bulb manufacturers were stopping the production of Gocco bulbs... a death sentence for the proliferation of the Gocco... Read more about Gocco on Weddingbee's wiki)
  4. Round corner punch (this is the only item on this list that I actually own... and I own the kind Mrs. Penguin refers to with "evil dagger eyes"... guess I should go out and buy the more ergonomic version!)
  5. Envelope template kit (I've wanted one of these for the longest time!)
My husband and I DIY-ed our programs, placecards, placecard holder (ribbon board) and table numbers and the number one thing I still cannot live without is...


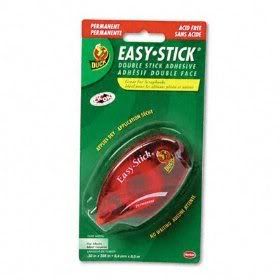
THE ADHESIVE ROLLER!


{Picture Source}

This little device has a spool of sticky adhesive that easily rolls onto and adheres to wherever you glide the tip of the roller. There are many brands of roll-on adhesive ~ I've tried a few different kinds and to me, they all work just the same ~ and the one pictured above is $2.96 on Amazon. FYI... refills available for purchase, so you don't have to keep buying the roller itself.

TR and I used these rollers to assemble our invitations (we bought 2 adhesive rollers + LOTS of refills so we could both work at the same time) and our placecards... and I don't think I could ever go back to wrapping presents without a tape roller ever again!

Wednesday, October 29, 2008

I'm So Trashy!

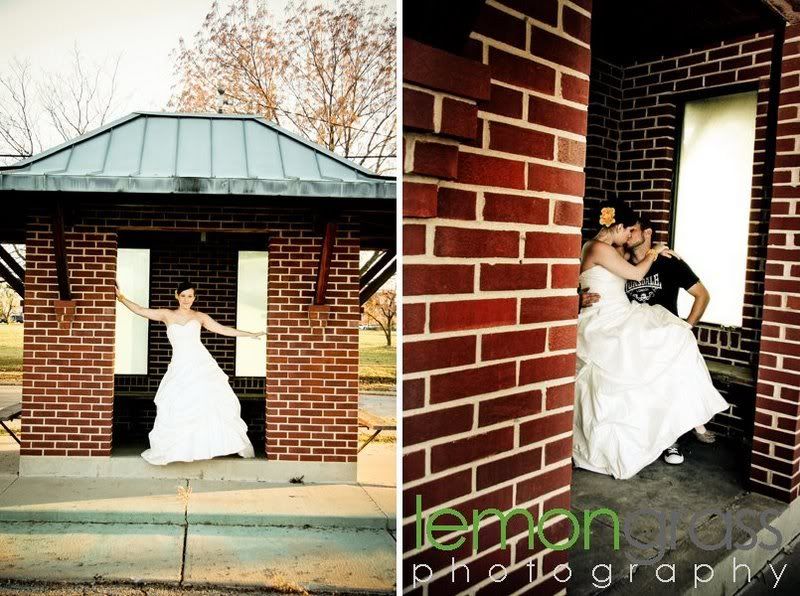
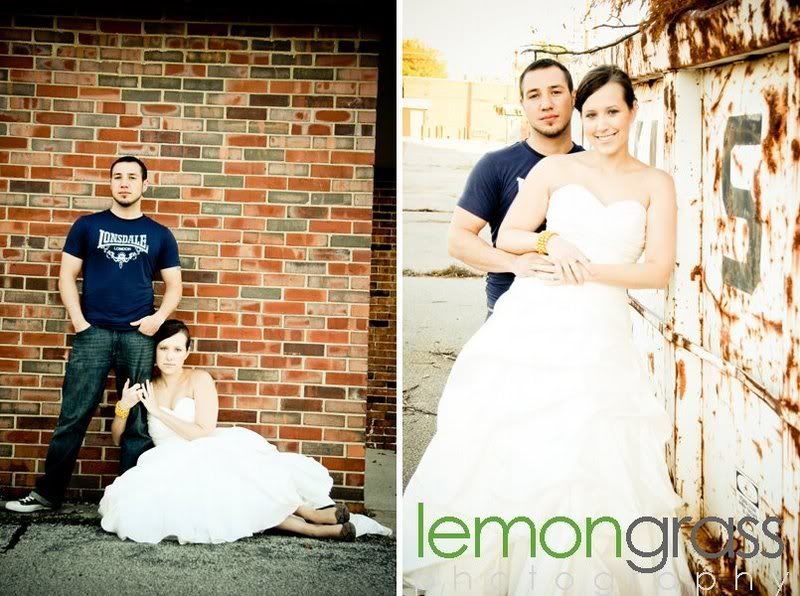
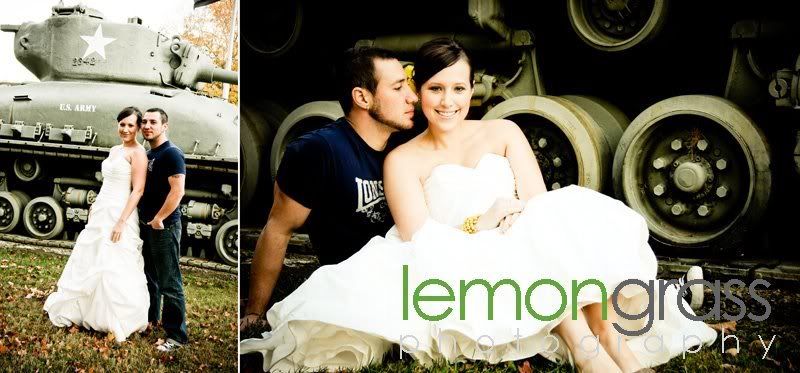
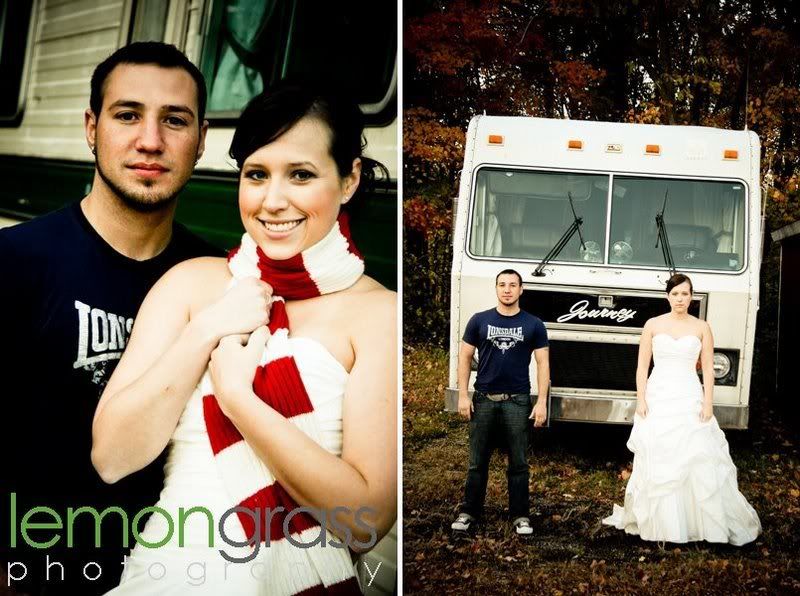
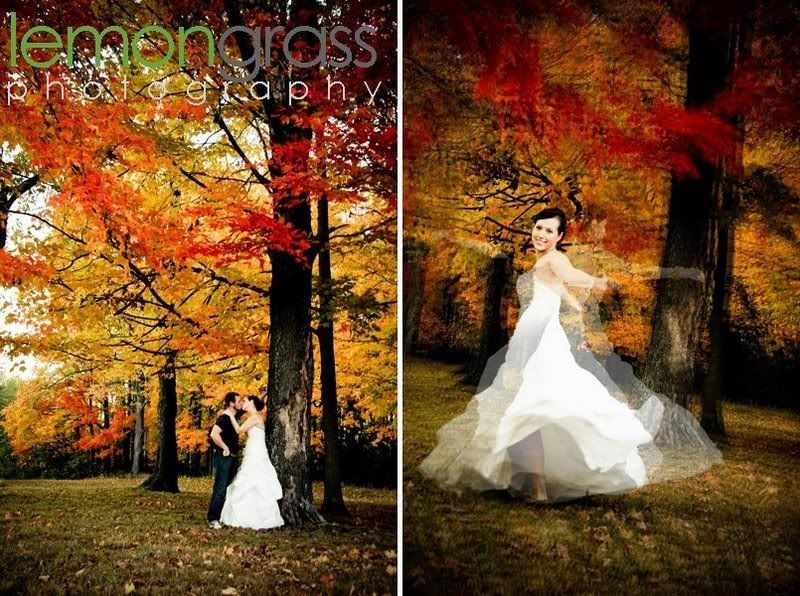
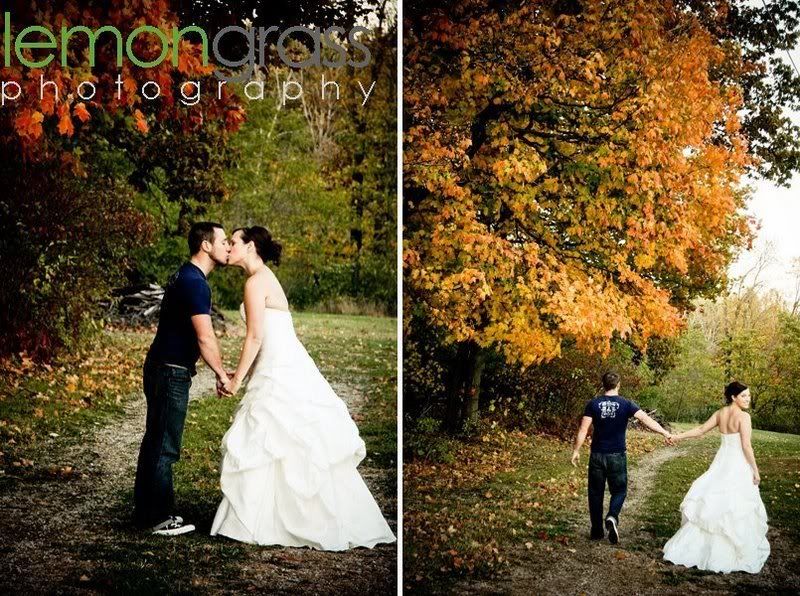
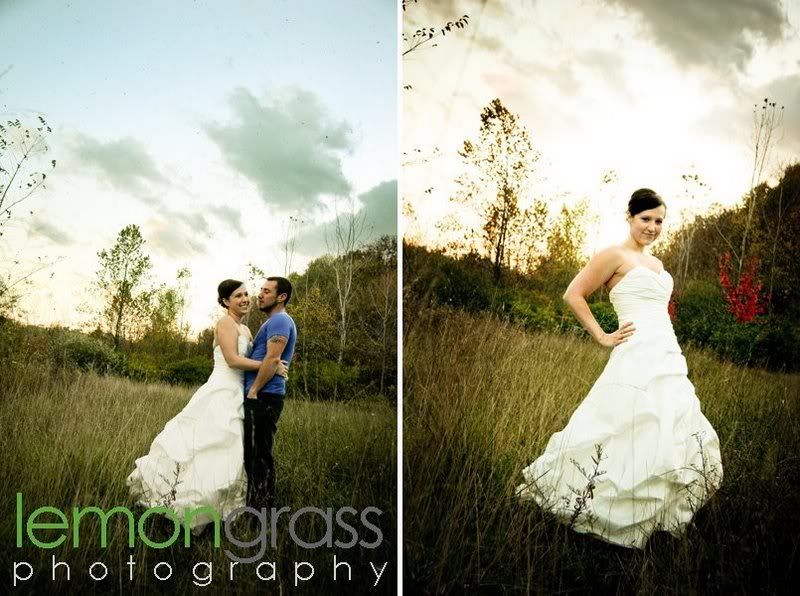
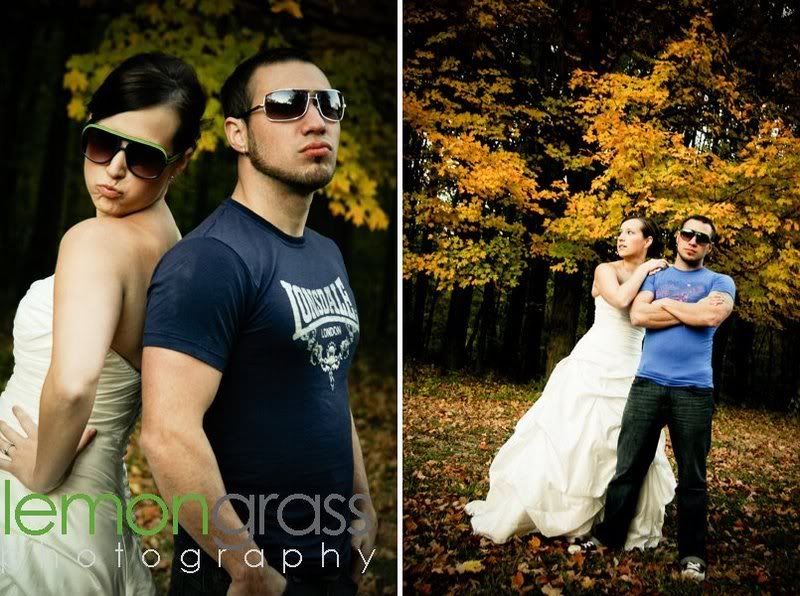
I am so excited right now!! Jessica from Lemongrass Photography just posted our Trash the Dress pictures!! The full blog post is here, but I wanted to post some pics and commentary on my site, too! :)

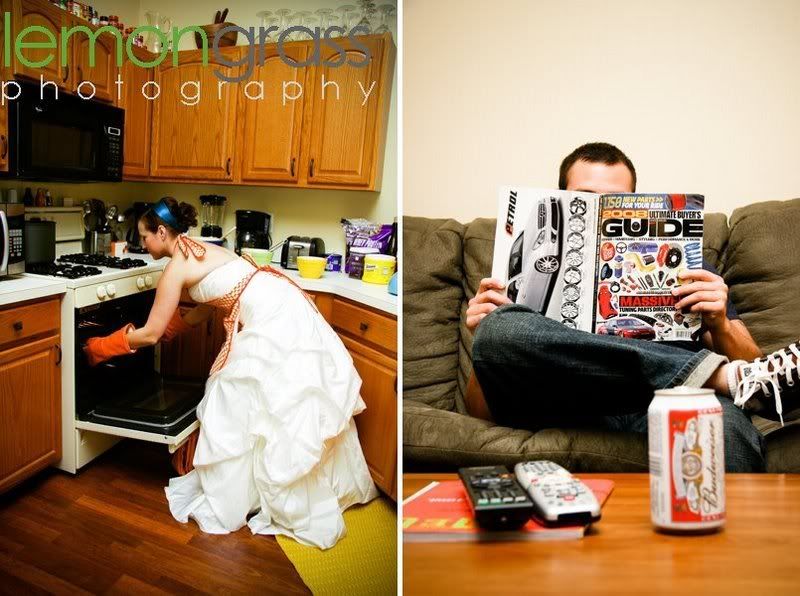
Here we are poking fun at the "domestic life"... what's funny is that this is pretty accurate! I've started cooking and baking more, and even bought some cute aprons to wear around the house.

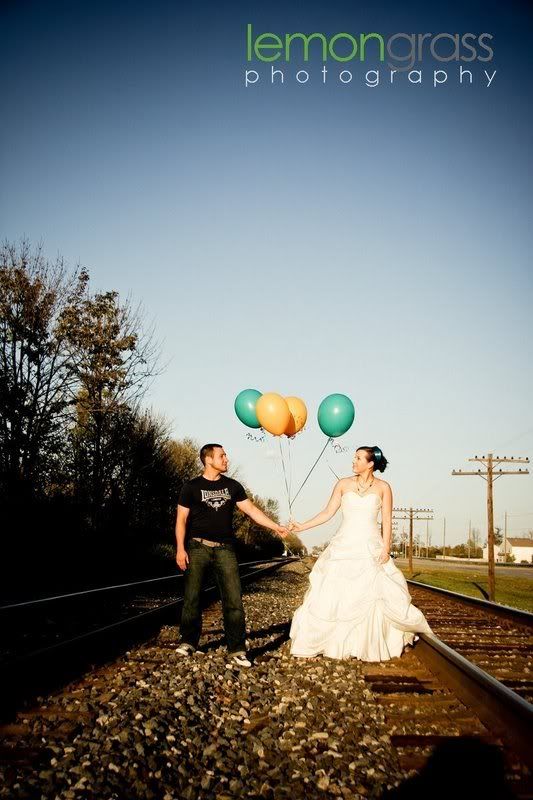
Here we are on the railroad tracks with our balloons... this is one of my favorite pics out of the entire bunch.


We're behind some buildings at Fort Ben for the next two pictures... I love how these turned out!


[Note: I suck at keeping a straight face. Either I'm halfway smirking or I look like I'm dead inside... but the one below on the left is decent!]


Because TR likes war things...


And then we found this Winebago that may/may not have been someone's residence...


I LOVE FALL!


I love pictures like the one below on the right... sigh.


I think this brushy area (below) looks so whimsical! You could never tell that there's a fairly busy road less than 10 feet away!


And last but not least, the BESTEST pictures ever! TR makes a good "guido" face, but unfortunately, I just look silly. :)

Tuesday, October 28, 2008

Glass Bottle Floral Arrangements

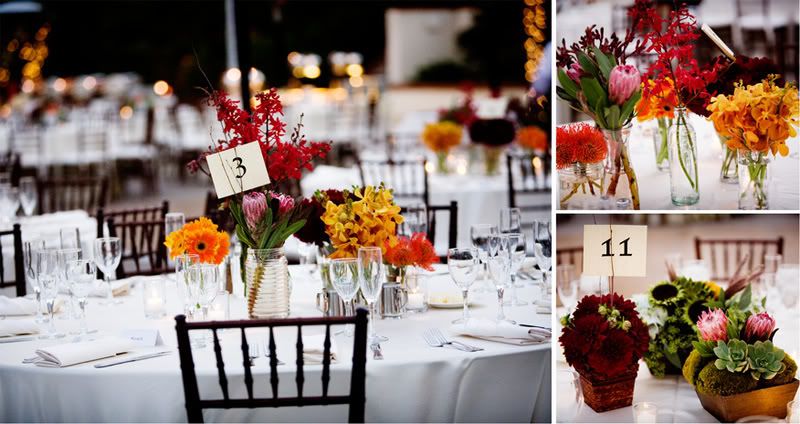
I was just admiring a "Real Wedding" posted over on Lyndsey Hamilton's blog and thought I'd share a centerpiece idea:


I love the idea of using multiple vases in various heighths and widths as the centerpiece for each table. Mason jars have to be one of my most favorite things in the world and they come in so many shapes and sizes!!

Oh the Places You'll Go...

[EDIT: Many people confuse place cards and escort cards, and even the most experienced wedding professional on TV/in a bridal magazine will mix them up (I've seen it happen many times). And unfortunately, I have done the same exact thing! ESCORT cards are pictured below. They tell the guest what table they are seated at. PLACE cards are set at each place setting and tell the guest exactly what seat to sit in. Please excuse my mistake! I have corrected the following blog post accordingly.]

One of the cutest aspects of reception decor (in my opinion) where you can really let your creativity shine through are (edited) escort cards. Escort cards are those little cards that tell your guests what table they are seated at and they are pretty much necessary unless your guests will be sitting wherever they please. The cards are normally placed in a common area at your reception facility (i.e. on the table alongside your guest book and/or gift card basket).


I was looking at Southern Weddings' blog (found via Oh So Beautiful Paper's blog) and saw the best array of escort card options. Here are three of my faves:

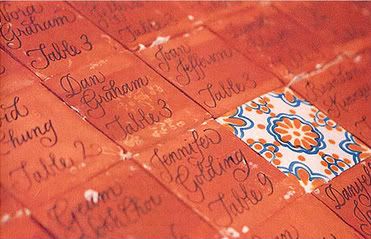
1) Escort card tiles. I love this idea! The color and design of the tile's face is so bright and festive, while the terra cotta back is perfect for writing your guests' names and table numbers. The picture below is from Laura Hooper's Calligraphy website and shows calligraphied names. You could recreate this look by handwriting guest names yourself, or having a friend with neat handwriting help you out.


{Picture Source}

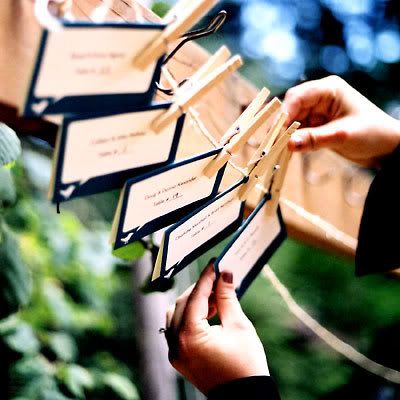
2) Escort cards hung on a horizontal string. I don't know what it is about clothespins, but I love 'em! For an outdoor wedding, this would look so cool! String a line of "whatever" (ribbon, rope, sturdy thread) between trees, posts, etc, and pin the escort cards to the line. Easy peasy! [This idea comes from InStyle Weddings.]


{Picture Source}

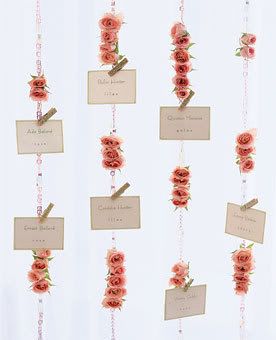
3) Escort cards hung on a vertical string. I think this idea works better than #2 for indoor spaces (but, of course, there are ways to make horizontal work if you really love that look). Hanging strands of clear crystals or beads in your wedding colors would look so amazing when attached to the ceiling of your reception's foyer... just attach placecards and you're set! You could also add flowers (or something else... you could include some pictures of the bride & groom & guests between the escort cards) like the picture below from Brides.com.


{Picture Source}

Monday, October 27, 2008

Recycled Gift Tag Letters

I know it's only the end of October... OMG it's the end of OCTOBER!!! That means Christmas is less than 2 months away!!!

I love Christmas so much because I love the act of giving gifts. Maybe my motives are a little selfish, but nothing feels better than giving someone you love something they would never have bought for themselves or something that is so amazingly cool that they think you are the most thoughtful/awesome/wonderful person ever. :)

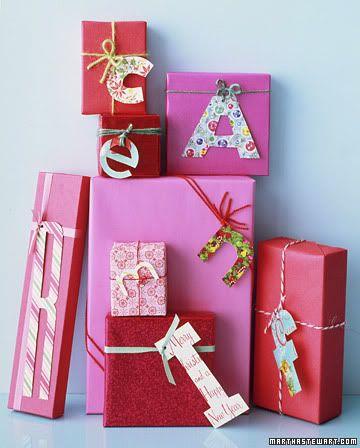
If you love giving gifts as much as I do, there's a good chance you also love presenting your gifts in a creative way. I present (purposeful pun!) to you: recycled gift monograms!!!

{Picture Source}

These letters are cut out of old Christmas cards ~ genius! Another great idea by Martha Stewart and her staff.

I feel awful throwing away Christmas cards. Someone put all of that effort into picking a card that reflected their personality and message they wanted to send, writing a message in said card, addressing the envelope, paying for postage and sending the card on its way to my mailbox. I am guilty of hoarding old Christmas cards and now I've found an excellent way to reuse them! I can't wait to wrap some gifts!

[I also have every single wedding card anyone ever gave TR & me for our showers & wedding... I shall reuse these, too!]

Pumpkin Carving

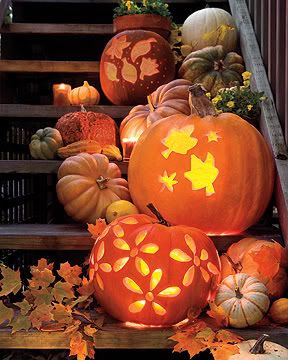
TR and I have decided to do some pumpkin carving this week and I found some adorable designs over on Southern Living's website:


I really like the bottom pumpkin with the floral design and also the fall leaves pumpkin. TR is probably going for a really scary design, so I'll have to put my sweet pumpkins on the other side of the porch. :)

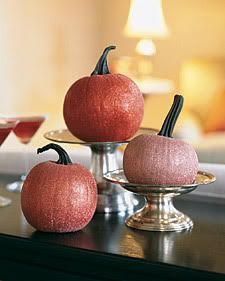
I also really love the look of painted pumpkins for centerpieces or Thanksgiving decor (picture below). Although I think we can all slap some paint on a pumpkin without detailed instructions, Martha Stewart offers video directions for making these gorgeous glitter gourds:


I might just have to make both kinds of pumpkin decorations!